
It wasn’t until a couple months ago when I discovered the beauty of copper pipes. I was walking in Home Depot and came across this lovely rustic material. It was surrounded by its peers but stuck out like a sore thumb. That day I bought it and did some research that led me to making my very first copper pipe design, a clothes rack. I love this rack so much, I had to extend the design further in my home and make others.
The icing on the cake is this copper pipe design both is multi-functional at least in the organizing world and they give a minimalist vibe, which in my world is catastrophic (in a good way!)

Todays DIY involves, well what do you know, the copper pipe. This project is for all levels and can be done in a weekend.
So let’s get started. For this project, you’ll need:
2 (1/2”diameter) 10 feet copper pipe
4 (1/2”) copper caps
8 (1/2”) copper tee
glue
tape measure
pipe cutter
black spray paint (optional)

Step 1: Measure and cut the pipe into the below measurements:
2 (9”) pieces
2 (13”) pieces
6 (18”) pieces
2 (20") pieces
2 (6") pieces

Step 2: Lay the pipe pieces and copper pressure tees out on the floor in the shape of the ladder.

The Breakdown
2 (6”) pipe pieces are the for the top portion of the ladder
2(9”) pipe pieces form the portion after the top portion of the ladder
2 (13”) pipe pieces form the space after the 9" portion
2 (18”) pipe pieces create spaces above the base of the ladder
Lastly, 4 (18") pipe pieces create the ladder threads
Step 3: Apply glue to each section at the end of each pipe and on the inside of each pressure tee as well as the copper caps and join together. Press down on the pieces firmly to make sure they stick. Wipe off any excess glue quickly before it dries.

Step 4: Check to see if all the pieces are secured and that the ladder is balanced. Once confirmed, let it dry for 24 hours.

Step 5: (Optional) Spray paint your ladder. I spray painted my ladder black to go with the interior of my home but you can spray it any color. Keep in mind; you may have to spray it more than once if you go with a lighter color.
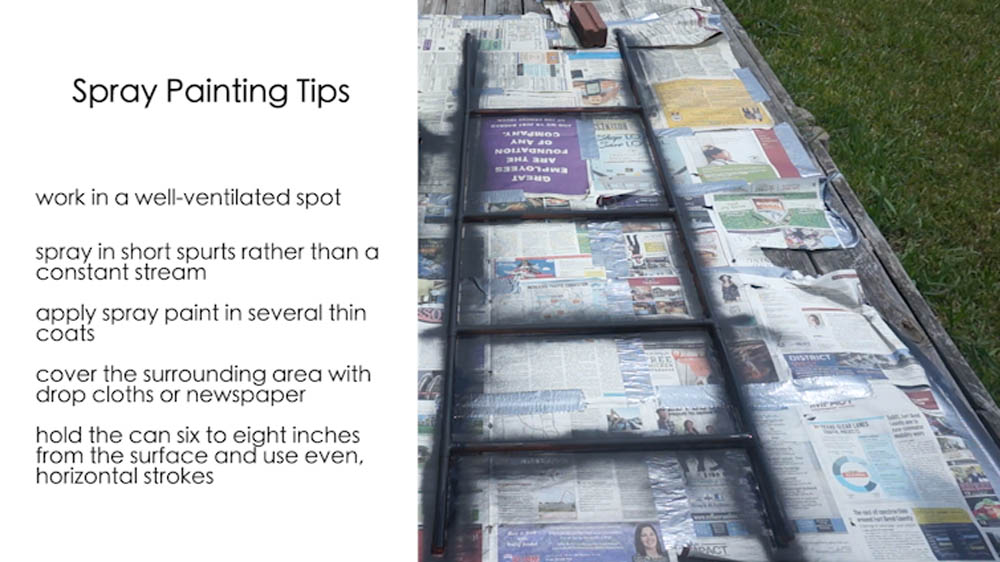
Important Tips: Work in a well-ventilated area when spraying an object. Also, use a grease-cutting cleaner to remove all grease and ensure that the surface is free of grime and dirt before spray-painting your pipe. For more information, click here.
Once it's dry your ladder is finished!


I hope this DIY tutorial was simple and I look forward to seeing your beautiful creations!
Thanks you!