
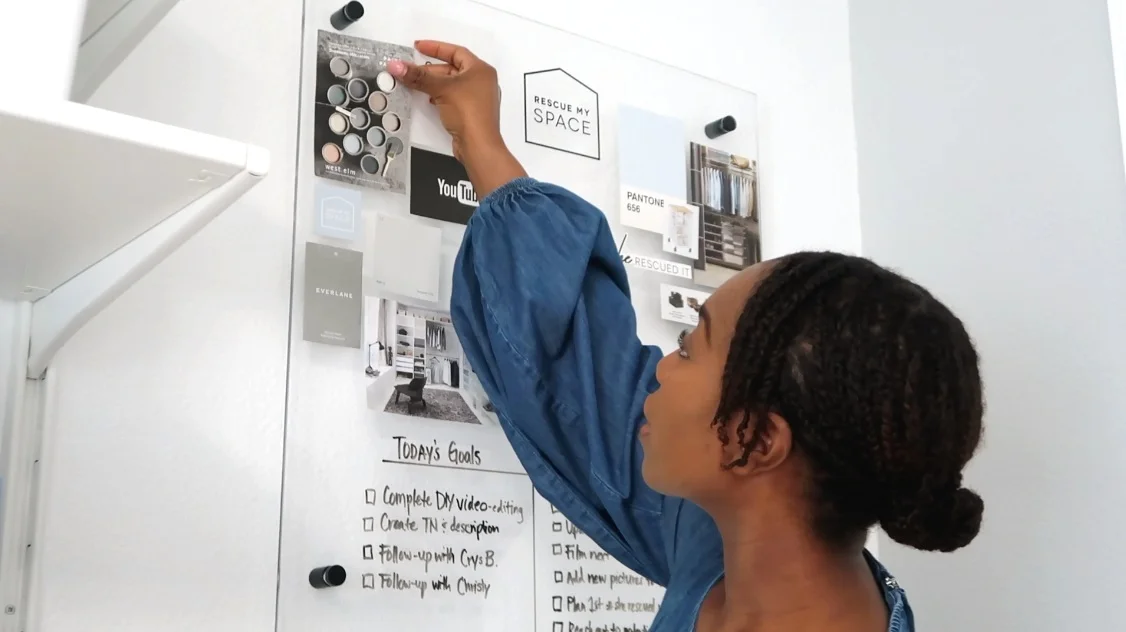
Now that my office is slowly getting closer to completion there are still some final touches I need to add to it before the big reveal. Being someone who enjoys writing things down I wanted to add a dry erase board to my office but not just any ole dry erase board, I wanted an acrylic board.
My first option was to purchase the board from this amazing maker I found on Instagram but after holding it off weeks later, I decided to take a leap of faith and make it myself. Guess what I did! Below you will see the steps I took to create my acrylic dry erase board. It only requires a few products and time but once you’re done you will have created your very own personal masterpiece.
MATERIALS
Acrylic sheet
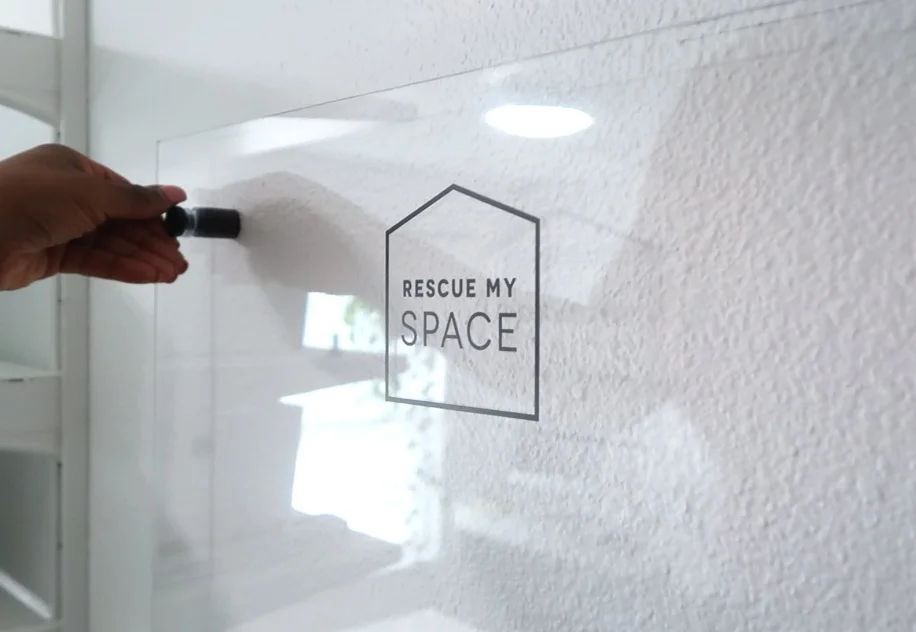
Decal - optional from Etsy
Painters Tape
Pencil
Drill
Drillbit
A level
STEP #1 Because the acrylic sheet will come with a protective film on it. Don’t peel this film off until you’re ready to apply the vinyl decals which is at the end.
Start off with measuring and marking where you’re going to drill the holes in each corner. I measured about an inch and a half from the edge and covered the area with some painter’s tape on both sides.


STEP #2 Next, With a cordless drill fitted with a 1/2″ spade drill bit, drill a hole all the way through, peel the tape off, and clean up any ragged edges by scraping off the excess plastic that was removed.

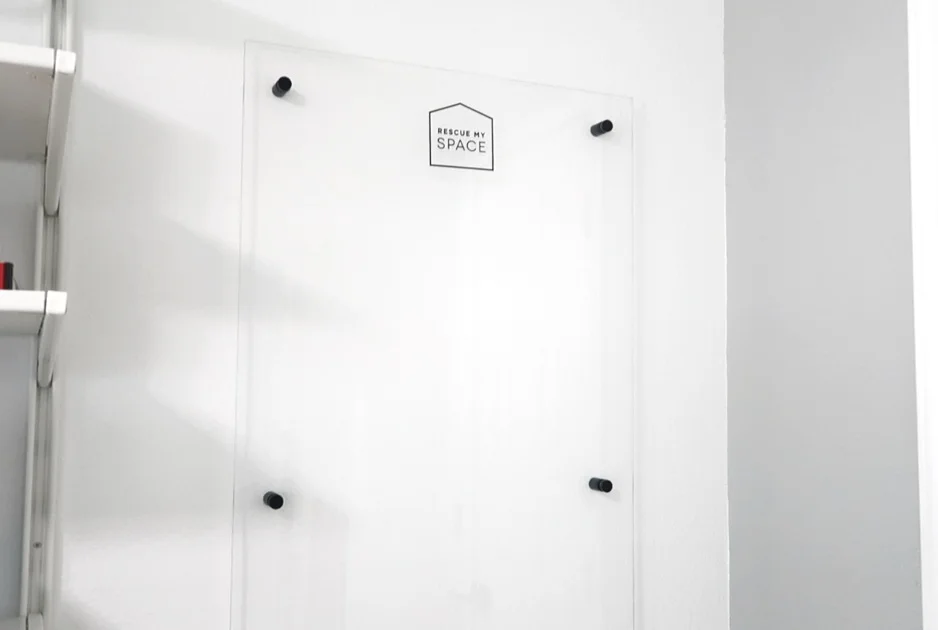
STEP #3 Mark the area on the wall where the board will be hung. Take your board and place it against the wall in its desired location. Mark the 4 corners on the wall using a pencil and drill into the wall. Make sure you drill the correct size hole in the wall according to standoff screws.

STEP #4 Once all 4 holes are in place, hang your acrylic board into the screws and tighten the stand offs tightly to ensure your board is secure.
STEP #6
Take a step back and admire the master piece you’ve created! Oh and did I forget to mention, custom…
If you’re interested in watching the tutorial, check it out below!